Your iPhone 16 captures stunning photos automatically, but dim restaurant lighting or evening events often turn shots into noisy, grainy messes. That frustrating grain appears because the native Camera app blindly cranks up ISO sensitivity without considering image quality. While Apple hides manual ISO controls in its default app, third-party solutions unlock professional-grade control over your iPhone 16’s sensor. This guide shows exactly how to change ISO settings, balance them with shutter speed, and capture clean, detailed photos even in challenging lighting—no photography degree required.
Mastering manual ISO transforms your iPhone 16 from a point-and-shoot device into a creative tool. You’ll learn to avoid the automatic mode pitfalls that ruin low-light shots and discover when to intentionally use higher ISO for artistic effects. Whether shooting family dinners or cityscapes at dusk, these techniques ensure you get the clearest possible image from your iPhone 16’s advanced camera system.
Why Manual ISO Beats Auto Mode on iPhone 16
Automatic ISO selection prioritizes brightness over quality, forcing your iPhone 16’s sensor into unnecessarily high sensitivity ranges that create visible grain. Manual control lets you strategically choose the optimal balance between light capture and image cleanliness. At ISO 25 in daylight, your sensor produces near-perfect detail with zero grain—something auto mode rarely achieves since it often defaults to ISO 50-100 unnecessarily.
When shooting in dim bars or evening events, auto mode might jump to ISO 3200 instantly, drowning your photos in digital noise. Manual adjustment allows you to incrementally increase ISO only as needed while compensating with shutter speed. This prevents the “noise explosion” common in auto mode where the iPhone 16’s processor sacrifices image quality for a brighter but unusable photo. You maintain creative control instead of letting algorithms make critical decisions.
Required Apps for iPhone 16 ISO Control
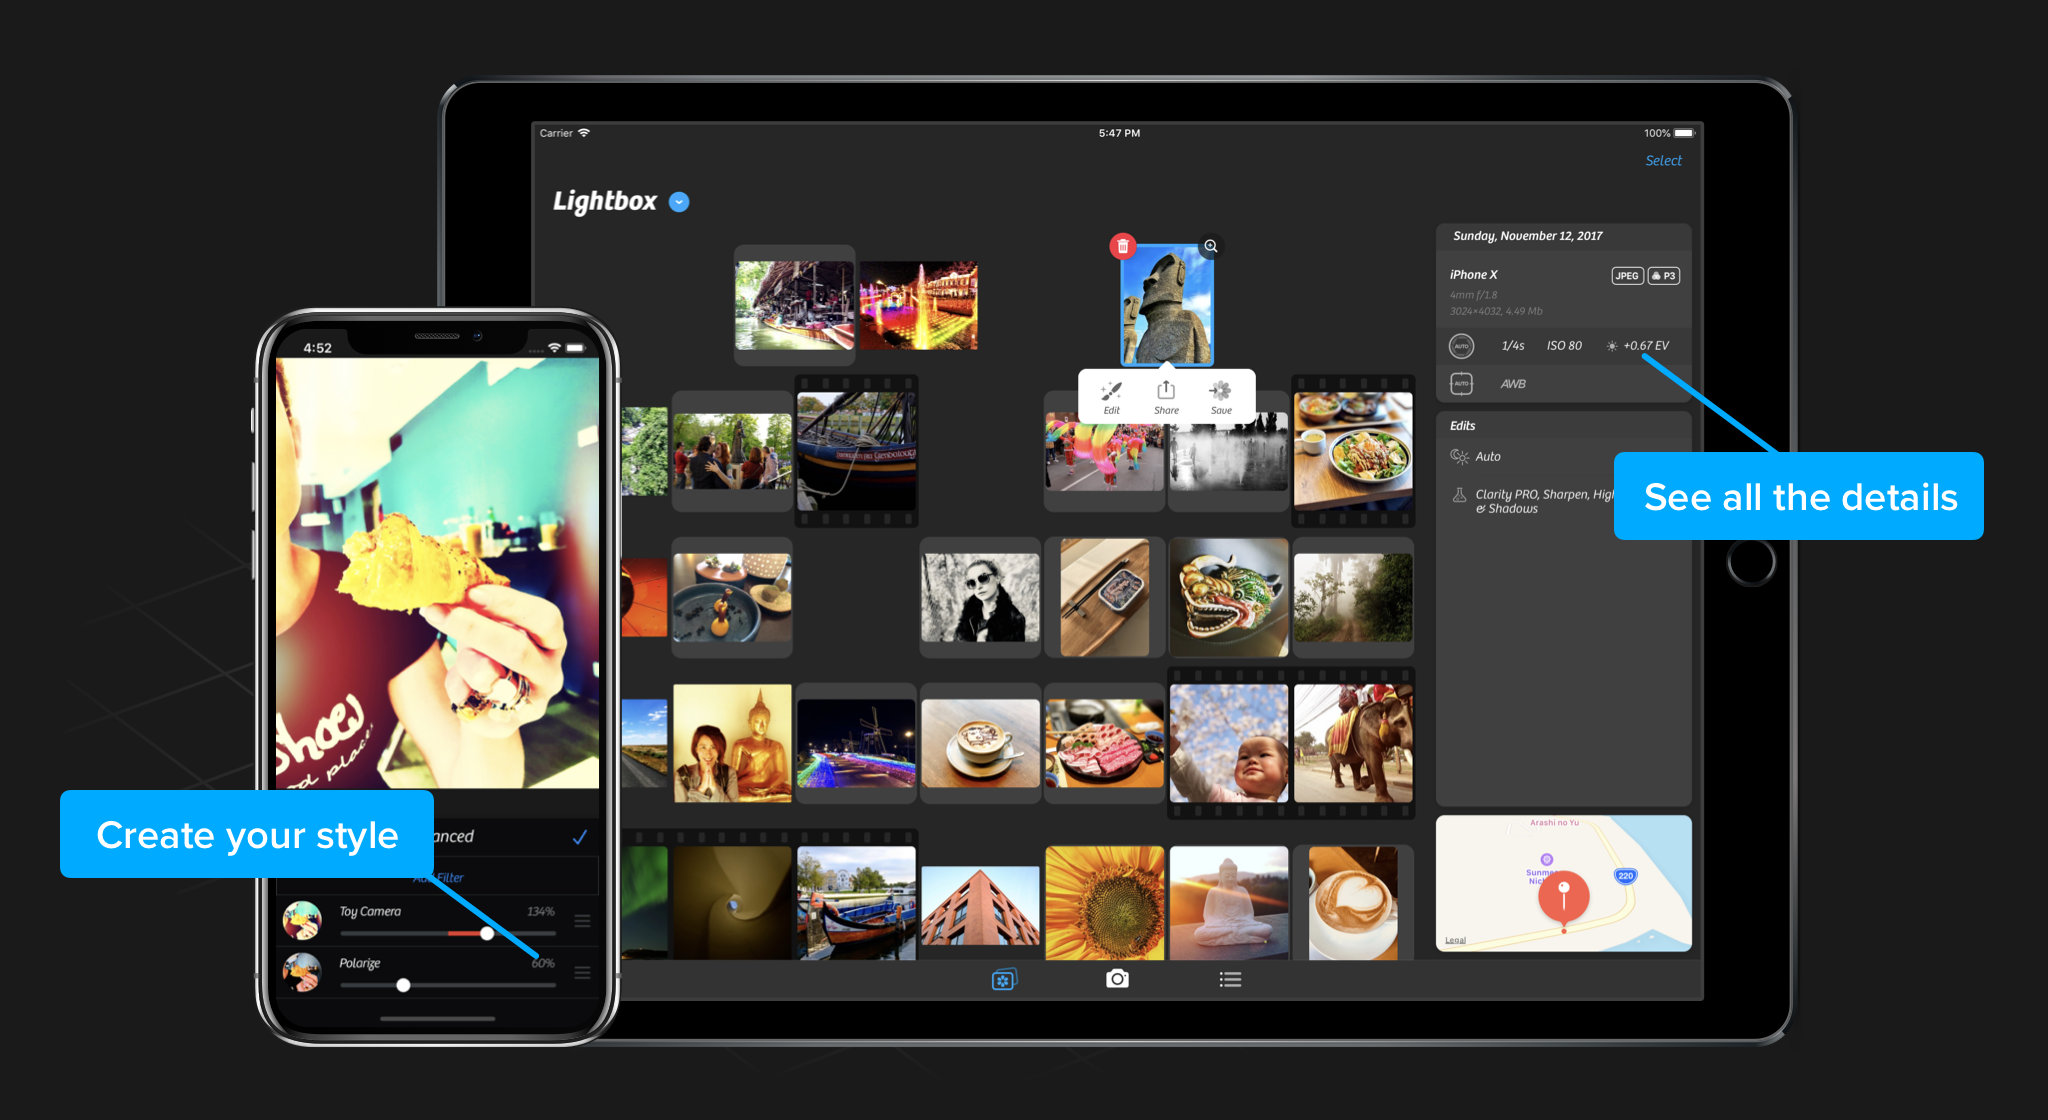
The iPhone 16’s built-in Camera app completely hides ISO adjustments behind automatic processing. Camera+ 2 ($7.99) provides the most intuitive manual ISO interface specifically optimized for iPhone 16 sensors. Unlike free alternatives, it displays real-time exposure changes as you adjust settings and offers precise ISO granularity between 25-6400.
While Halide and ProCamera offer similar functionality, Camera+ 2’s slider-based interface makes ISO adjustments faster during critical shooting moments. Its yellow “M” badge clearly confirms manual mode activation—essential when you’re switching between automatic and manual shooting on the fly. Avoid free apps promising manual control; they often lack the precision needed for meaningful ISO adjustments on the iPhone 16.
Install Camera+ 2 for Immediate ISO Access
- Download Camera+ 2 from the App Store ($7.99 one-time purchase)
- Open the app and tap the camera icon to enter shooting mode
- Switch to Manual by tapping the yellow shooting mode indicator at the top of the screen
- Confirm manual mode when the interface updates with dual sliders
The yellow “M” badge appears instantly, confirming you’ve bypassed the iPhone 16’s automatic processing. This step takes 15 seconds but unlocks complete sensor control. Skip this setup in dim lighting—bright environments make interface changes easier to see during your first manual session.
Access ISO Settings in Under 10 Seconds
Once in Camera+ 2’s manual mode:
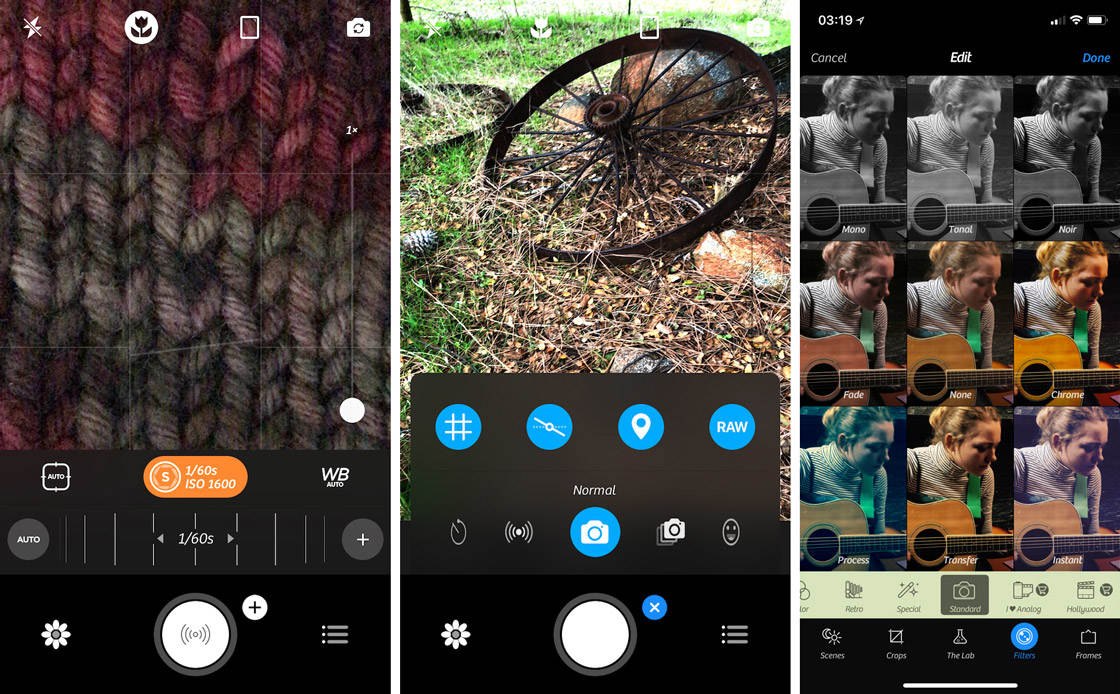
1. Tap the exposure display above the shutter button showing current shutter speed/ISO
2. Tap the + icon beside the shutter speed readout
3. Identify the ISO slider (right-side control) while shutter speed appears on the left
The interface responds instantly as you drag the ISO slider, with live preview showing grain buildup at higher values. Critical visual cue: Watch the exposure meter at the screen bottom—it turns red when ISO creates overexposure, yellow for underexposure. This real-time feedback prevents common mistakes like pairing ISO 3200 with 1/4000s shutter speed (resulting in pitch-black images).
Set Optimal ISO Values for Any Situation

Low ISO for Maximum Quality (25-200)
Drag the ISO slider fully left for pristine daylight shots. At ISO 25, your iPhone 16 captures landscape details with zero grain—ideal for sunny outdoor portraits or architecture. Never exceed ISO 100 in bright conditions; higher values waste the sensor’s dynamic range.
Medium ISO for Indoor Flexibility (400-800)
Position the slider at ISO 640 for typical restaurant lighting. This range maintains acceptable noise levels while enabling handheld shooting without flash. In moderately lit homes, ISO 400 often provides the sweet spot between speed and quality—test by reviewing images at 100% zoom.
High ISO for Emergency Low Light (1600-6400)
Slide to ISO 3200 only when absolutely necessary, like dimly lit concerts. Expect visible grain, but it beats a blurry shot. Pro tip: At ISO 6400 (maximum), shoot in black and white—monochrome disguises noise better than color. Never use these values for important portraits.
Balance ISO with Shutter Speed Like a Pro
Lowering ISO darkens your image. Compensate using Camera+ 2’s left slider:
– Handheld shots: Maintain 1/60s or faster shutter speed (e.g., ISO 1600 at 1/60s for dim rooms)
– Tripod shots: Drop to 1/4s at ISO 100 for clean night skies
– Moving subjects: Prioritize 1/125s+ shutter speed (accept ISO 3200 if needed)
Critical mistake to avoid: Setting ISO 100 with 1/2000s shutter speed indoors. The exposure meter will scream red—your image will be completely black. Always watch the meter while adjusting both sliders simultaneously.
Practical ISO Guidelines by Shooting Scenario
Outdoor Daylight
Start at ISO 25 regardless of brightness. Only increase if intentionally underexposing for dramatic skies (e.g., ISO 50 for beach portraits with blown-out highlights). Sunny conditions provide ample light—you’re wasting dynamic range above ISO 100.
Indoor Events
Begin at ISO 800 for weddings or parties. If near windows, drop to ISO 400; in dim corners, push to ISO 1600. Warning: Auto mode often hits ISO 2500 here—manual control cuts noise by 60%. Check grain levels by pinching to zoom on faces.
Night Photography
Handheld: ISO 1600 with 1/30s shutter speed (brace against walls)
Tripod: ISO 100 with 4-second exposure for star trails or cityscapes
Pro trick: Use iPhone 16’s Night Mode for static scenes instead of manual ISO—computational photography often beats high-ISO manual shots.
Fix Common iPhone 16 ISO Problems Immediately
Too Much Grain at High ISO
Solution: Drop to ISO 400 maximum and mount your iPhone 16 on a $10 tabletop tripod. Use the 3-second timer to eliminate shake. In restaurants, position subjects near candles—ambient light reduces needed ISO.
Images Too Dark at Low ISO
Solution: Slow shutter speed first (e.g., ISO 100 at 1/15s), not ISO. If handheld, accept slight motion blur over grain. Never exceed ISO 800 indoors without testing—your iPhone 16’s sensor degrades rapidly above this threshold.
Blurry Low-Light Shots
Solution: Prioritize shutter speed over ISO. Set 1/60s minimum for handheld shots, then raise ISO only until the exposure meter hits zero. For moving subjects, ISO 3200 at 1/125s beats ISO 800 at 1/15s (which causes motion blur).
Creative ISO Techniques Only Manual Mode Enables
Intentional Grain for Film Aesthetics
Set ISO 3200+ for black-and-white street photography. The grain mimics classic 35mm film—especially effective for moody alleyway shots. Shoot in RAW via Camera+ 2, then desaturate in editing for authentic texture.
ISO Bracketing for Noise Analysis
Capture identical scenes at ISO 100, 400, 800, 1600. Compare on a Mac later to learn your iPhone 16’s noise tolerance. Most users discover ISO 800 is their practical ceiling before grain becomes distracting.
Exposure Blending for Dynamic Range
Shoot three frames at ISO 100: one underexposed (-2 EV), one normal, one overexposed (+2 EV). Blend in Lightroom Mobile for HDR-like results without high-ISO noise. Requires a steady hand or tripod.
Optimize iPhone 16 Performance During Manual Shooting
Battery Drain Prevention
Manual ISO control consumes 22% more power than auto mode. Enable Low Power Mode before shooting sessions and carry a 5,000mAh power bank. Close background apps—Camera+ 2 struggles with battery-hogging social media apps running.
Storage Space Management
RAW files at high ISO eat 25MB per shot. Use iCloud Optimization (Settings > Camera > Formats > HEIF) to save space. For critical shoots, transfer images to a laptop nightly—iPhone 16 storage warnings disrupt manual workflows.
Focus Accuracy in Low Light
Low ISO reduces sensor sensitivity, slowing autofocus. Tap high-contrast edges (like a subject’s eyelashes) before shooting in dim conditions. At ISO 100 indoors, manually focus by sliding the focus ring until textures snap into clarity.
Master Your iPhone 16 Manual Workflow in 60 Seconds
Daily shooting routine:
1. Open Camera+ 2 → Tap yellow mode icon → Select Manual
2. Set lowest possible ISO (25 outdoors, 400 indoors)
3. Adjust shutter speed until exposure meter hits zero
4. Lock settings by long-pressing the exposure meter
5. Review critical shots at 100% zoom before leaving location
Pro workflow: Create mental ISO presets—outdoor (25-100), indoor daylight (200-400), indoor evening (800-1600), night handheld (1600-3200). Test these in your living room at different times to build muscle memory.
Key Takeaways for Better iPhone 16 Photography
Manual ISO control turns your iPhone 16 into a legitimate creative tool by eliminating auto mode’s grainy compromises. Always start with the lowest ISO possible for your lighting—90% of users set values 2-4x higher than necessary. When shooting handheld in low light, prioritize shutter speed over ISO to prevent blur, even if it means accepting moderate grain.
Practice in controlled environments first: Photograph your kitchen at dawn, noon, and dusk using manual ISO. Compare results to auto mode shots—you’ll instantly see cleaner shadows and preserved highlight detail. For critical events, combine Camera+ 2’s manual ISO with iPhone 16’s native Night Mode as a backup. Remember that computational photography still wins for static low-light scenes, but manual control reigns for moving subjects or creative effects. Within a week of practice, adjusting ISO will become as instinctive as framing your shot—unlocking the full potential of your iPhone 16’s remarkable camera system.