Your new iPhone 16 camera delivers stunning 48MP ProRAW photos and cinematic spatial video right out of the box—but only if you know how to adjust its hidden settings. Most users stick with default configurations, missing out on professional-grade control that transforms casual snaps into gallery-worthy images. This guide cuts through Apple’s buried menus to show you exactly how to adjust iPhone 16 camera settings for perfect exposure, resolution, and creative control. You’ll learn to unlock 48MP capture, customize the revolutionary Camera Control button, and troubleshoot common issues—all within 15 minutes.
Stop guessing why your portraits lack depth or videos flicker under fluorescent lights. Whether you’re shooting family moments or professional content, mastering these adjustments ensures you capture exactly what you see. By the end, you’ll wield your iPhone 16 camera with the precision of a DSLR—no external gear needed.
Unlock 48MP ProRAW: iPhone 16 Camera Setup in 60 Seconds

Settings > Camera > Formats > ProRAW & Resolution Control
Flip this toggle to activate your iPhone 16’s full-resolution powerhouse. Once enabled, the RAW MAX button appears in your Camera app—tap and hold it to choose your format. HEIF Max gives you 48MP quality with manageable file sizes (ideal for social media), while RAW (DNG) delivers uncompressed editing flexibility for Lightroom pros. JPEG XL Lossy minimizes storage impact, and JPEG XL Lossless preserves every pixel detail.
Why Your 48MP Option Might Be Missing
If the RAW MAX button doesn’t appear:
– Confirm you’re using the main rear camera (ultra-wide/selfie max out at 12MP)
– Verify ProRAW & Resolution Control is enabled in Settings
– Ensure you’re shooting in Photo mode (Portrait mode disables RAW)
Pro Tip: RAW files consume 10x more storage than standard shots. Before a big event, check Settings > General > iPhone Storage—delete old videos if free space is under 5GB.
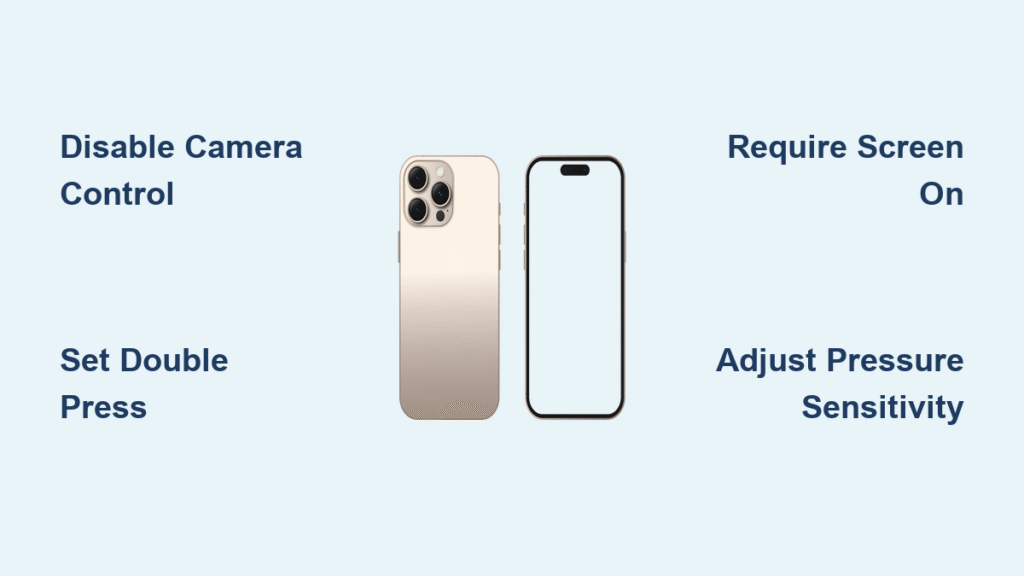
Customize Camera Control Button for Instant Shooting
Single vs. Double Press Configuration
Settings > Camera > Camera Control
Tailor this physical button to your shooting style:
– Single press: Launch camera + second press takes photo (ideal for quick snaps)
– Double press: Prevents accidental triggers during pocket storage
– Press-and-hold: Starts video recording in one motion
Critical Fix: If your case mutes the button, remove it temporarily and clean the contact points with a microfiber cloth—interference is the #1 cause of unresponsiveness.
Sensitivity Tweaks for Reliable Triggers
Settings > Accessibility > Camera Control
Adjust these to prevent missed shots:
– Light Press firmness: Set to “Firm” if you often trigger accidentally
– Double-press speed: Slow it down if you struggle with timing
– Disable half-press: Turn off “Show Adjustments” to eliminate misfires
Switch Default Resolution: 12MP vs. 24MP Quick Guide
Settings > Camera > Formats > Photo Mode
This often-overlooked toggle determines your everyday photo quality:
– 12MP: Smaller files, faster processing (best for casual snaps)
– 24MP: Double resolution without ProRAW complexity (perfect for cropping)
Why This Matters: 24MP HEIF files maintain editing flexibility in the Photos app while avoiding RAW’s massive storage drain. Enable this before your next trip—it’s the sweet spot for travel photography.
Apply Photographic Styles Without Post-Editing
Set Permanent Default Looks
Settings > Camera > Photographic Styles
Create a signature style that applies to every shot:
1. Select four test photos from your library
2. Adjust tone sliders (vibrancy, warmth, contrast)
3. Tap “Save Tone & Colour” to lock your profile
Skin Tone Optimization Trick
While shooting, half-press the Camera Control button → tap the undertones arrow → choose “Warm” for golden-hour portraits or “Cool” for crisp studio looks. This AI-driven adjustment preserves natural skin tones even in harsh lighting—no retouching needed.
Fix Video Flickering: Frame Rate Adjustment Guide
PAL Format Setup for Flicker-Free Footage
Settings > Camera > Record Video > Show PAL Formats
Enable this if you shoot under:
– Office fluorescent lighting
– Street lamps at night
– Stage spotlights
Critical Action: In 50Hz countries (Europe/Asia), select 25fps to eliminate rolling bars. For smooth slow motion, choose 100fps (requires PAL formats enabled). Tap the frame rate indicator in the Camera app until your target appears.
120fps Slow Motion Workflow
Shoot at 120fps → open in Photos app → tap “Edit” → adjust playback speed to 25% for buttery slow motion. Warning: This drains battery 40% faster—monitor your charge during extended shoots.
Use Camera Control Island for On-the-Go Adjustments
After a gentle button press (until you feel the click):
– Swipe vertically to switch lenses (ultra-wide to telephoto)
– Drag the island slider for precise zoom control beyond standard limits
– Double-tap gently to access exposure compensation and timer
Pro Hack: In landscape mode, slide your thumb across the island to adjust zoom while keeping your eye on the subject—no screen distractions.
Capture True 3D Spatial Photos (iPhone 16 Exclusive)

Camera app → Swipe left to Spatial mode
Follow these non-negotiable steps:
1. Shoot ONLY in landscape orientation (portrait mode fails)
2. Keep subjects 3-6 feet away for depth accuracy
3. Tap once to capture (no holding required)
Viewing Tip: Spatial photos appear flat on iPhone but transform into immersive 3D on Apple Vision Pro. For Meta Quest headsets, export via iCloud and use the Spatial app.
Resolve 3 Critical iPhone 16 Camera Issues

Problem: Camera Control Button Unresponsive
Fix:
1. Remove case and clean button with isopropyl alcohol
2. Disable “Show Adjustments” in Accessibility settings
3. Reboot if magnetic mounts interfere
Problem: Styles Not Saving Between Sessions
Fix: Go to Settings > Camera > Preserve Settings → enable “Photographic Style”. This makes your custom tones stick across reboots.
Problem: External Mic Disables Audio Mix
Workaround: Use the built-in mics for Spatial Audio features. External USB-C mics (like Rode VideoMic) disable Audio Mix modes but provide cleaner signal—choose based on priority.
Professional Storage Management Tactics
Format Selection Cheat Sheet
| Format | Best For | File Size | Editing Flexibility |
|---|---|---|---|
| HEIF Max | Social media | 8-12MB | Moderate |
| RAW (DNG) | Professional editing | 80-120MB | Maximum |
| 24MP HEIF | Everyday photos | 5-7MB | High |
Emergency Tip: If storage hits 90%, disable “ProRAW & Resolution Control” immediately. RAW sessions can wipe 10GB in 100 shots—switch to 24MP HEIF for critical moments.
One-Handed Shooting Mastery
Hold your iPhone 16 vertically with your thumb resting on the Camera Control button. For rapid-fire shots:
1. Single press to open camera
2. Second press captures instantly
3. Slide thumb up/down on island for zoom
Left-Handed Adaptation: Use your index finger instead of thumb—position the phone with your palm cradling the bottom edge. Avoid this technique for precise manual focus; switch to two-handed mode for studio work.
Your iPhone 16 camera transforms from point-and-shoot to pro tool once you adjust these critical settings. Start with 24MP HEIF for daily use—this balances quality and storage without ProRAW complexity. Master the Camera Control button customization first; it’s your fastest path to reliable shooting. For your next event, enable PAL formats if shooting indoors to eliminate flicker instantly. Remember: Spatial photos require landscape orientation, and RAW files demand storage vigilance. Within one week of practicing these adjustments, you’ll shoot with the confidence of a seasoned photographer—no extra gear needed. The real power isn’t in the hardware; it’s in knowing exactly how to adjust iPhone 16 camera settings for any situation.