
You’ve invested in the powerful iPhone 16, but your videos still look shaky during everyday recording. This frustrating problem affects countless users who don’t realize stabilization isn’t automatically enabled on their new device. Without proper configuration, even smooth handheld movements create amateurish footage that doesn’t showcase your iPhone 16’s impressive camera capabilities. The good news is that fixing this takes just seconds once you know where to look.
This definitive guide reveals exactly how to activate all stabilization features on your iPhone 16, from basic settings to advanced configurations. You’ll discover why your videos remain shaky despite having flagship hardware and learn the precise steps to achieve professional-quality footage for social media, family events, or content creation. By the end, you’ll never miss an important moment due to shaky recording again.
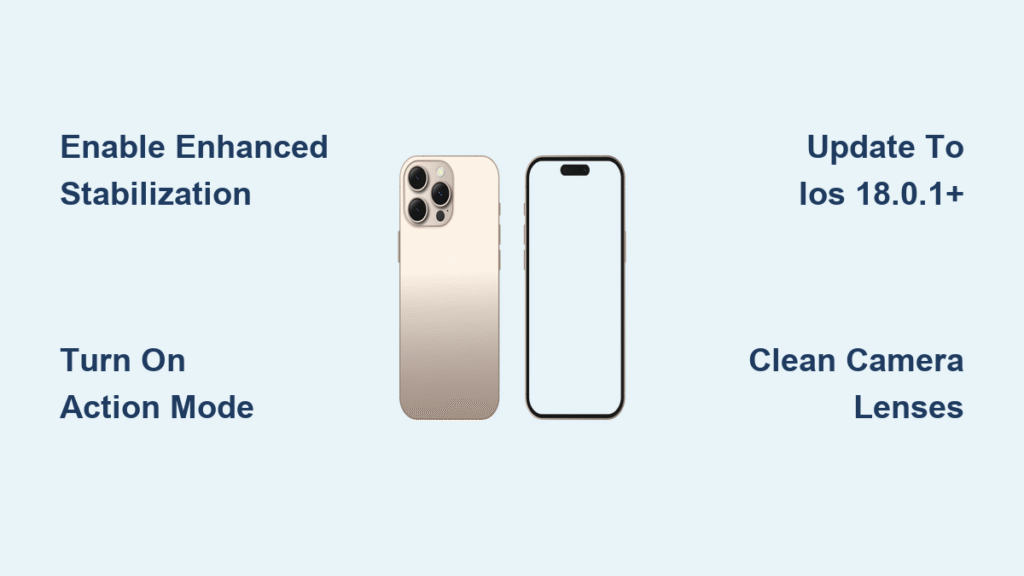
Locate iPhone 16 Stabilization Settings Instantly
Navigate Directly to Camera Stabilization Controls
Open your Settings app and tap Camera, then select Record Video. This is where Apple hides the critical stabilization toggles that transform shaky footage into smooth video. Don’t waste time searching through menus—this precise path gets you to the stabilization controls in under 10 seconds. Look for Enhanced Stabilization near the bottom of the video recording options.
Pro Tip: Save even more time by using the search function at the top of Settings. Type “stabilization” to jump straight to the relevant menu without navigating through multiple screens.
Verify Your iPhone 16 Runs Compatible Software
Your iPhone must be updated to iOS 18.0.1 or later for reliable stabilization performance. Earlier iOS versions lack the necessary algorithms to power the iPhone 16’s advanced stabilization system. Check your software version by going to Settings → General → About → Software Version. If you’re still on iOS 17.x, connect to Wi-Fi and update immediately through Settings → General → Software Update.
Critical Warning: Avoid iOS 18.0 as it contained a significant bug that disabled stabilization features. Ensure you’re running iOS 18.0.1 or newer for consistent performance.
Activate Enhanced Stabilization in 4 Simple Steps

Enable Core Stabilization Feature Immediately
Follow these exact steps to activate the primary stabilization system:
- Open Settings → Camera → Record Video
- Toggle Enhanced Stabilization to ON (the switch turns green)
- No restart is required—changes apply instantly
- Test functionality by recording a 3-second video while walking
Key Insight: Enhanced Stabilization works on both front and rear cameras simultaneously. Test your selfie camera to confirm stabilization is active for vlogging and video calls.
Confirm Stabilization Is Actually Working
After enabling, open your Camera app and switch to Video mode. Notice how the viewfinder appears slightly zoomed in compared to Photo mode—this is the 10-15% crop factor Apple applies to create stabilization space. If the view looks identical to Photo mode, your stabilization isn’t active.
Quick Verification: Gently shake your iPhone while in Video mode. The preview should stay remarkably steady despite your hand movement. If the viewfinder shakes excessively, double-check that Enhanced Stabilization is enabled.
Master Action Mode for High-Motion Recording
Activate Maximum Stabilization During Video Capture
When recording sports, running, or other high-motion activities, tap the running figure icon in Video mode to engage Action Mode. The icon turns yellow when active, signaling maximum stabilization. This feature applies a 20-30% crop factor to your footage, sacrificing some field of view for dramatically smoother results during intense movement.
Performance Note: Action Mode works best at 1080p resolution with 60fps frame rate. The iPhone 16 automatically adjusts settings for optimal stabilization performance when you enable this mode.
Configure Automatic Action Mode Activation
Prevent missed moments by setting Action Mode to activate automatically:
- Go to Settings → Camera → Record Video
- Toggle Action Mode to ON
- Your iPhone will now detect high-motion scenarios and engage stabilization automatically
Smart Detection: The system recognizes activities like running, cycling, and sports. You’ll see the running figure icon turn yellow automatically when needed, though you can still manually disable it for specific shots.
Troubleshoot Non-Working Stabilization Immediately

Reset Camera Settings Without Losing Photos
If your videos remain shaky despite correct settings, perform a camera reset:
- Navigate to Settings → General → Transfer or Reset iPhone
- Select Reset → Reset All Settings
- This preserves all your photos and videos
- Re-enable Enhanced Stabilization after the reset completes
First Step Before Reset: Force-close the Camera app by swiping it away from the app switcher, then reopen it. This resolves many temporary glitches without requiring a full reset.
Diagnose Hardware-Related Stabilization Failures
Identify if your issue stems from hardware problems rather than settings:
- Test: Record identical footage with stabilization ON and OFF
- Check: Clean camera lenses thoroughly with a microfiber cloth
- Verify: Test in different lighting conditions (low light affects performance)
- Red Flag: If stabilization fails across all modes consistently, contact Apple Support
Critical Test: Record while intentionally shaking your iPhone. Properly functioning stabilization should produce noticeably smoother footage than unprocessed video.
Optimize Battery Life While Recording Stabilized Video
![]()
Manage Power Consumption During Extended Sessions
Stabilization significantly impacts battery life:
– Enhanced Mode: Drains 5-8% additional battery per 10 minutes
– Action Mode: Consumes 10-12% extra power due to intensive processing
Power-Saving Tips:
– Enable Low Power Mode for recording sessions exceeding 20 minutes
– Switch to Airplane Mode to minimize background processes
– Close all non-essential apps before starting extended recordings
– Keep battery above 20%—low power can disable advanced stabilization
Use Stabilization Across Popular Social Media Apps
TikTok and Instagram Optimization
Both platforms automatically leverage your iPhone 16’s stabilization settings:
– TikTok: Uses native stabilization with no additional configuration
– Instagram: Works best with iPhone stabilization enabled (not Instagram’s built-in option)
– Pro Tip: For Instagram Reels, disable the app’s stabilization to avoid over-processing
Live Streaming Note: TikTok Live maintains stabilization but uses less aggressive settings to ensure real-time performance. Action Mode isn’t available during live streams due to processing limitations.
Apply Stabilization for Specific Recording Scenarios
Vlogging and Content Creation Setup
Optimize your settings for professional-looking vlogs:
– Enhanced Stabilization: ON
– Resolution: 4K at 30fps
– Frame rate: Auto FPS enabled
– Additional: Use front camera for selfie videos (stabilization works identically)
Pro Technique: For stationary shots, combine with a small tabletop tripod. This reduces stabilization workload, improving low-light performance and battery life.
Action Sports Recording Configuration
Capture smooth footage during physical activities:
– Action Mode: Always enabled
– Resolution: 1080p at 60fps
– Frame rate: 120fps for slow-motion capability
– Additional: Use rear camera’s ultrawide lens for maximum field of view
Weather Consideration: Action Mode performs best in bright conditions. In low light, expect increased image noise due to the aggressive cropping required for stabilization.
Maintain Peak Stabilization Performance
Weekly Lens Cleaning Routine
Dirty lenses severely compromise stabilization effectiveness. Clean weekly with:
– Microfiber cloth for daily maintenance
– Lens cleaning solution for stubborn smudges
– Avoid: Paper towels or clothing—they scratch lens coatings
Performance Test: Record identical footage before and after cleaning to see the dramatic improvement in stabilization quality.
Storage Management for Reliable Performance
Keep at least 5GB of free storage space for optimal stabilization. The iPhone 16 uses temporary storage during stabilization processing—when space runs low, you’ll experience dropped frames or complete stabilization failure. Offload videos to cloud storage weekly to maintain free space.
Storage Tip: Create a weekly routine to review and delete unnecessary videos before they fill your storage.
Your iPhone 16’s stabilization features can transform shaky handheld footage into professional-quality video—but only when properly configured. Start by enabling Enhanced Stabilization in Camera settings, verify it’s working through the viewfinder test, and use Action Mode for high-motion scenarios. Remember to keep lenses clean, maintain sufficient storage space, and ensure iOS updates are installed promptly. Within minutes of following these steps, your videos will showcase the true potential of your iPhone 16’s camera system. Test these settings today and capture smooth, stable footage worthy of your important moments.


