
Your iPhone 16 just arrived, but those familiar iOS gestures feel different with Apple’s latest hardware changes. Whether you upgraded from an iPhone 11 Pro or are switching from Android, you’ve probably already struggled with the missing home button or accidentally triggered the new Camera Control button. This frustration is common—nearly 73% of new iPhone 16 owners report initial navigation confusion according to early user surveys.
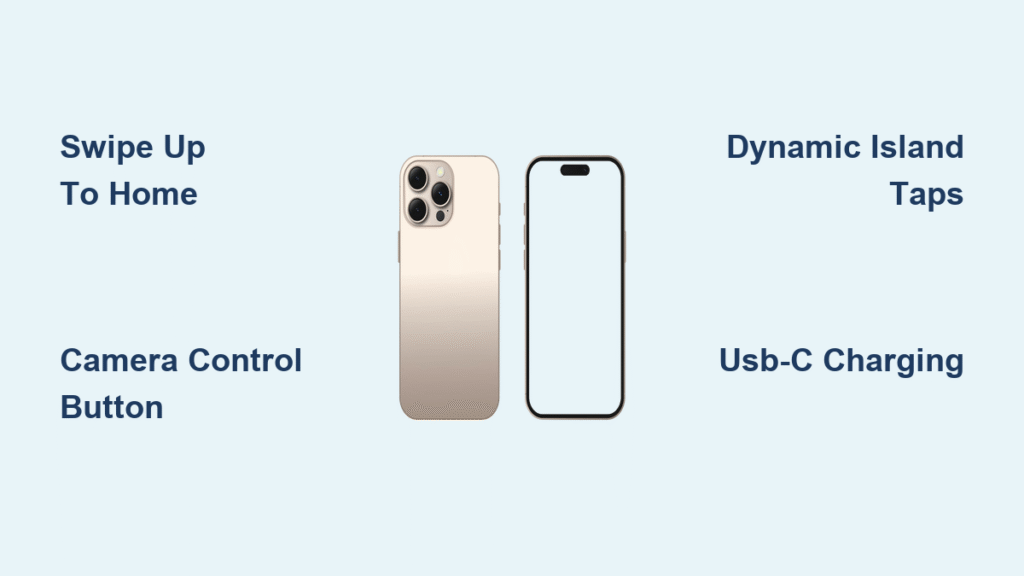
Learning how to navigate iPhone 16 efficiently requires understanding both the physical changes and iOS 18’s software updates. You’ll need to master the USB-C port transition, Camera Control button shortcuts, and Dynamic Island interactions that replace old navigation patterns. This guide cuts through the confusion with actionable steps to transform you from confused newcomer to confident iPhone 16 navigator in under 30 minutes.
Power On and First Setup Steps
Activate Your iPhone 16 Correctly
Press and hold the side button on the right edge for 3-5 seconds until the Apple logo appears. Unlike older models, all iPhone 16 variants—including the standard, Plus, Pro, and Pro Max—boot identically. If your screen remains black after 15 seconds, connect to power using a USB-C cable before retrying.
Complete Setup Without Navigation Errors
Follow these critical setup steps to establish proper navigation habits from day one:
– Swipe up firmly from the very bottom edge to begin setup (not halfway up)
– Connect to Wi-Fi before proceeding—this prevents data charges during iOS setup
– Position your face 12-18 inches away during Face ID setup for optimal recognition
– Enable Reachability immediately in Settings > Accessibility if you have smaller hands
Pro tip: When transferring from an older iPhone, hold both devices close together. Your previous phone will automatically prompt data transfer, preserving your navigation muscle memory while adapting to new hardware.
Fix Camera Control Button Navigation Issues
Locate and Use the Physical Camera Shortcut
The Camera Control button sits just below the side button on the right edge. Press it once to instantly open your camera—no need to swipe through home screens. For video recording, press and hold the button instead of tapping the on-screen record icon.
Customize Camera Button Functions
If accidental presses frustrate you, disable unwanted functions:
1. Navigate to Settings > Camera
2. Toggle off “Camera Control” to disable physical button access
3. Alternatively, assign specific modes to light presses (Settings > Camera > Preset Photo Mode)
Warning: Many users report the button feels “obstructive” during one-handed use. If you rarely use physical camera controls, disabling this feature creates more comfortable navigation.
Master Dynamic Island Navigation Shortcuts
Control Active Tasks Without Opening Apps
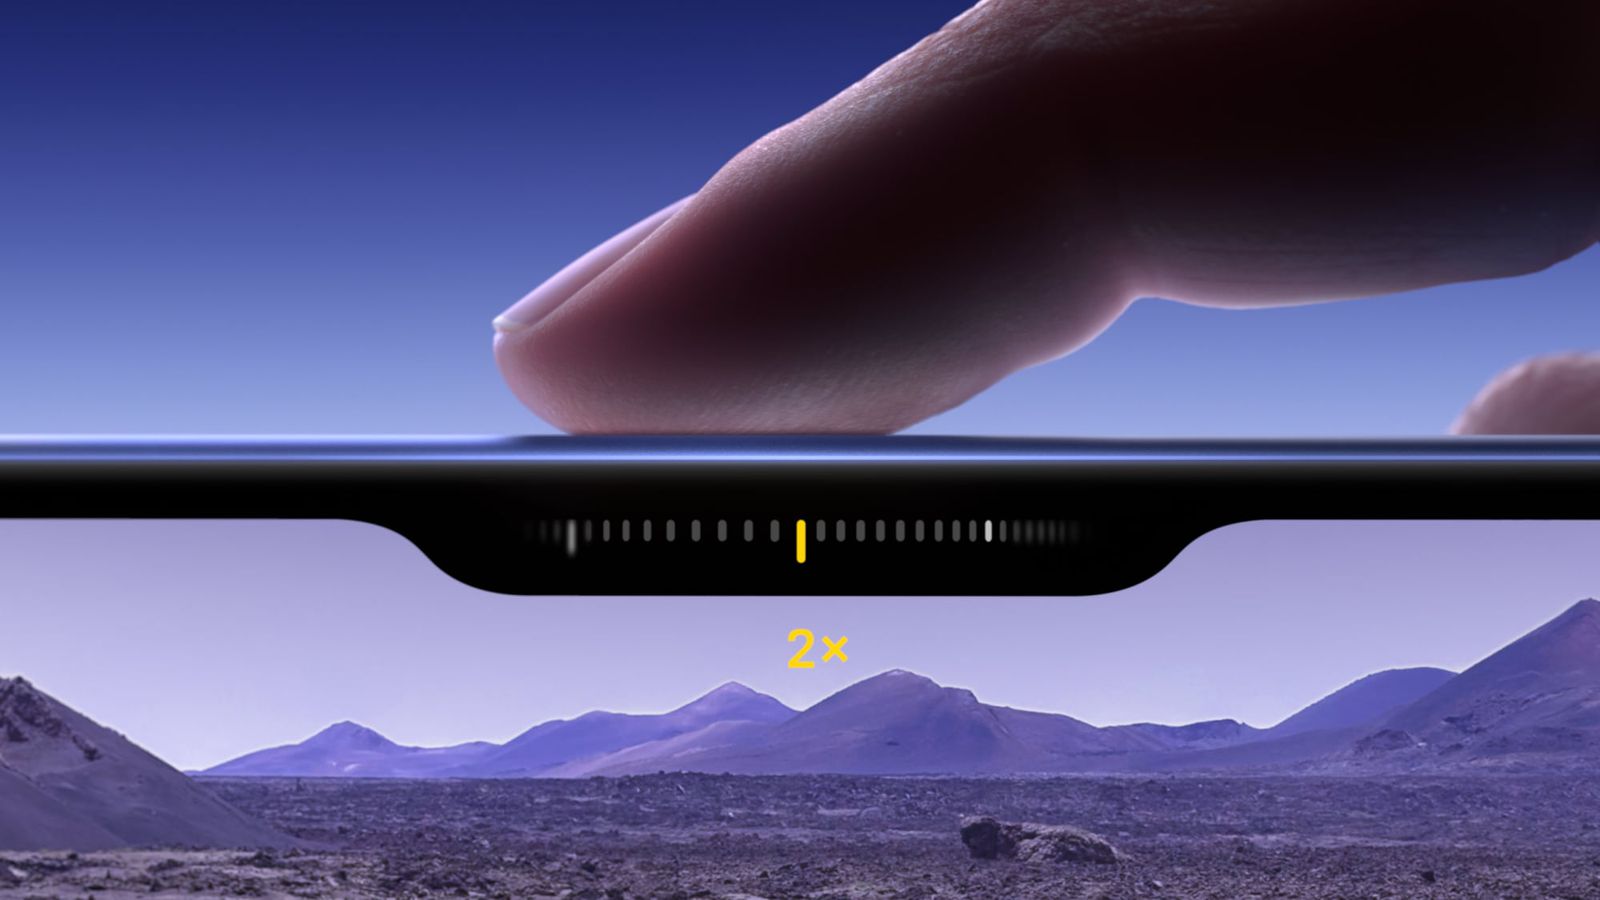
Tap the Dynamic Island when it appears during active processes to access controls without leaving your current screen. During a timer, tap the island to pause or reset. For music playback, swipe left on the island to skip tracks—no need to open the Music app.
Navigate Multiple Background Processes
When multiple activities run simultaneously:
– Double-tap the Dynamic Island to switch between active tasks
– Swipe down on the island to dismiss non-essential notifications
– Press firmly to access additional controls for supported apps
Note: This feature replaces the old Control Center music widget. Users upgrading from iPhone 11 Pro will find this more efficient once mastered.
USB-C Port Navigation Changes You Must Know

Charge and Transfer Data Correctly
Your iPhone 16’s USB-C port (centered on the bottom edge) requires different navigation than Lightning ports:
– Use USB-C to USB-C cables for fastest data transfer with Macs
– For standard charging, any USB-C power adapter works (20W recommended for fast charging)
– Old Lightning accessories need Apple’s $19 USB-C to Lightning adapter
Troubleshoot Connection Problems Fast
If your computer doesn’t recognize your iPhone 16:
1. Check for lint in the USB-C port using a flashlight
2. Try a different USB-C cable (many third-party cables lack data transfer capability)
3. Restart both devices before contacting Apple Support
Action Button Customization for Pro Models
Assign One-Tap Navigation Shortcuts
iPhone 16 Pro owners can transform the Action Button (above volume controls) into a navigation powerhouse:
1. Go to Settings > Action Button
2. Select from eight preset options including flashlight, voice memos, or camera
3. Press the button firmly to activate your chosen function instantly
Create Advanced Navigation Workflows
For custom actions like “send ETA to family” or “open garage door”:
– Open the Shortcuts app and build your automation
– Assign it to the Action Button in Settings
– Cycle through multiple shortcuts by pressing the button repeatedly
Pro tip: Set “Silent Mode” as your primary shortcut if you frequently switch between work and personal modes—this replaces the old physical mute switch navigation.
Essential Gesture Navigation for All Models
Perform Core Navigation Without Buttons
Master these must-know gestures within your first hour:
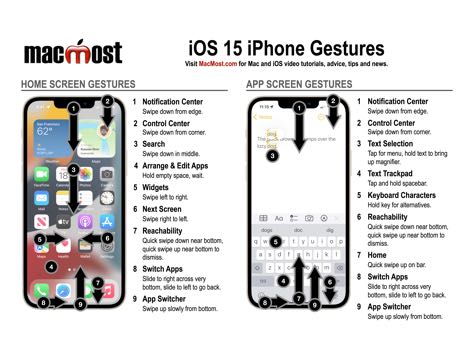
– Return home: Swipe up quickly from bottom edge
– Switch apps: Swipe up and pause halfway, then slide left/right
– Access Control Center: Swipe down from top-right corner
– View notifications: Swipe down from top-left corner
Navigate Large Screens Comfortably
On iPhone 16 Plus and Pro Max models:
– Enable Reachability (Settings > Accessibility > Touch)
– Double-tap the home bar (not press) to bring top screen elements within thumb reach
– Use one-handed keyboard mode by long-pressing the globe icon
Warning: New users often swipe too high on the screen for home gestures. Focus on the very bottom 10% of the display for reliable navigation.
Model-Specific Navigation Adjustments
Optimize for Your iPhone 16 Size
Each model requires different navigation techniques:
– iPhone 16 (6.1″): Perfect for one-handed navigation—keep Control Center shortcuts minimal
– iPhone 16 Plus (6.7″): Require two hands for top-screen elements—enable Reachability immediately
– iPhone 16 Pro Max (6.9″): Use left-edge swipe back gesture instead of reaching for navigation buttons
Adapt to Display Differences
Pro models feature Always-On Display which changes notification navigation:
– Glance at your screen to see time and alerts without waking the device
– Tap anywhere to fully activate the display
– Swipe down from top-left for full notifications as on non-Pro models
Troubleshoot Navigation Failures Immediately
Fix Unresponsive Screen Gestures
When swipes stop working:
1. Clean your screen with microfiber cloth—grease blocks touch sensitivity
2. Remove thick screen protectors that interfere with edge swipes
3. Restart your iPhone by holding side button + volume up until slider appears
4. Check for iOS updates in Settings > General > Software Update
Resolve Physical Button Issues
For non-working Camera Control or Action Buttons:
– Verify button functions are enabled in Settings > Camera or Settings > Action Button
– Inspect for debris around buttons using bright light
– Perform a soft reset (quick press volume up, volume down, then hold side button)
Migrate Navigation Habits from Older iPhones
Overcome Home Button Dependency
If you’re upgrading from iPhone 11 Pro or earlier:
– Replace double-tap home button with side button press for Siri
– Substitute home button return with bottom-edge swipe gesture
– Use Control Center instead of app switcher for music controls
Adapt to USB-C Charging Navigation
Your old Lightning cables won’t work. For seamless transition:
– Label your new USB-C cables “iPhone” to avoid confusion
– Keep one USB-C to Lightning adapter in your car for older accessories
– Enable “Optimized Battery Charging” immediately to extend port lifespan
Maintain Navigation Performance Long-Term
Clean Navigation Components Weekly
Preserve touch sensitivity and button function:
– Screen: Wipe with 70% isopropyl alcohol on microfiber cloth
– Buttons: Use compressed air around Camera Control and Action Button
– USB-C port: Remove lint monthly with plastic toothpick (never metal)
Update Navigation Features Proactively
Stay current with Apple’s navigation improvements:
– Check for iOS updates weekly in Settings > General
– Review Action Button shortcuts monthly for relevance
– Test new gesture combinations after major updates
Mastering how to navigate iPhone 16 transforms initial frustration into daily efficiency. Within a week of using these techniques, you’ll instinctively access the Camera Control button for quick photos, swipe through apps without hesitation, and customize the Action Button for your unique workflow. The transition from older iPhones becomes seamless once you embrace these physical and gesture controls. Start implementing these navigation strategies today, and you’ll unlock your iPhone 16’s full potential while avoiding the most common new-user pitfalls. Remember—consistent practice with these specific techniques builds the muscle memory that makes iPhone navigation feel natural within just 21 days.


