
You’ve found the perfect meme, received important instructions via text, or need to save proof of a reservation confirmation—knowing how to take screen shot on iPhone 16 becomes essential. Whether you’re new to Apple devices or upgraded from an older model, the iPhone 16 offers multiple screenshot techniques that work seamlessly with iOS 18. Unlike previous models, the latest iPhone maintains the familiar button combination while introducing several clever alternatives for different situations.
The moment you press those buttons correctly, you’ll hear a satisfying camera shutter sound and see your screen briefly flash. A small preview thumbnail appears in the bottom-left corner for a few seconds, giving you instant access to editing tools. This immediate feedback confirms your screenshot captured successfully before it automatically saves to your Photos app.
In this guide, you’ll discover not just the basic button method, but four additional techniques that solve specific problems—like taking screenshots when your hands are full, when physical buttons are damaged, or when you need to capture entire webpages. Master these methods and you’ll never miss capturing important information again.
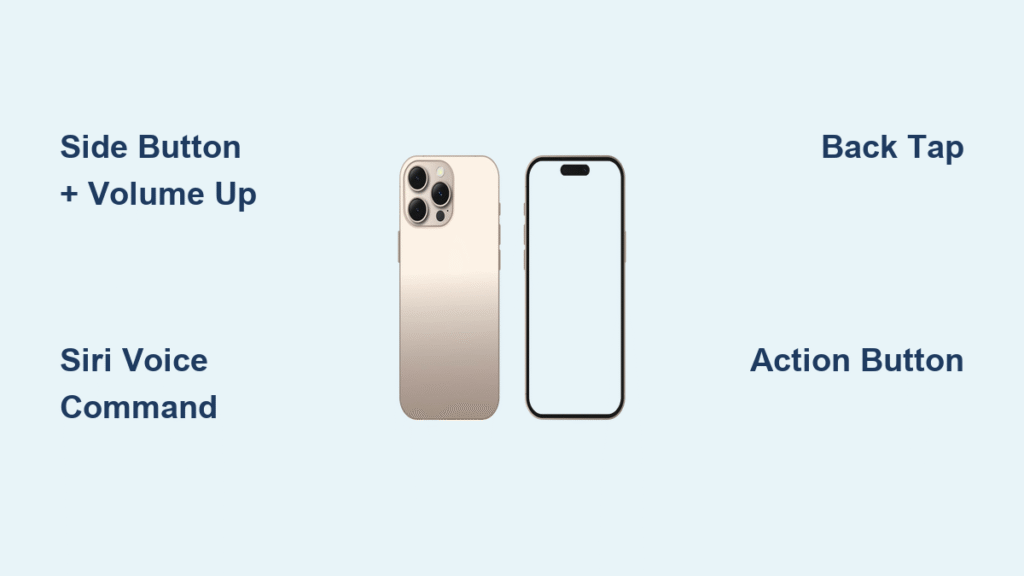
Master the Side Button + Volume Up Technique
The fastest way to capture your screen uses the physical buttons already at your fingertips. This method requires zero setup and works reliably across all iOS versions on the iPhone 16.
Perfect execution steps:
1. Locate the Side button on the right edge of your iPhone 16
2. Identify the Volume Up button on the top left edge
3. Press both buttons simultaneously and release immediately
4. Listen for the camera shutter sound and watch for the brief screen flash
5. Check for the thumbnail preview appearing in the bottom-left corner
What happens after you capture:
– Tap the thumbnail to access Markup tools for immediate editing
– Swipe left to dismiss the preview (your screenshot still saves automatically)
– Do nothing and the image saves to your Photos app after the thumbnail disappears
Pro tip: Press firmly but quickly—holding the buttons too long activates the power menu instead. If your screenshot fails, check that your fingers aren’t accidentally covering the screen while pressing the buttons.
Activate Siri Voice Commands for Hands-Free Screenshots
When your hands are occupied cooking, driving, or holding a baby, Siri becomes your screenshot assistant without requiring physical button presses.
Setup essentials:
– Navigate to Settings > Siri & Search > Listen for “Hey Siri”
– Toggle on “Hey Siri” or choose “Press Side Button for Siri”
– Test Siri activation to ensure proper microphone function
Effective voice commands:
– “Hey Siri, take a screenshot”
– “Siri, capture this screen”
– “Take a screenshot” (after activating Siri manually)
Best scenarios for voice screenshots:
– While wearing gloves during outdoor activities
– When your hands are messy in the kitchen
– During video calls when you need to capture something quickly
– While driving with CarPlay active
Troubleshooting tip: If Siri doesn’t respond, check your internet connection since voice processing requires online access. Background noise can interfere with command recognition, so speak clearly in noisy environments.
Configure Back Tap for One-Handed Screen Captures

Your iPhone 16’s back glass can become a hidden screenshot button through Apple’s clever Back Tap feature, perfect when you can’t reach the physical buttons.
Setup procedure:
1. Open Settings > Accessibility > Touch
2. Scroll down to find Back Tap
3. Select either Double Tap or Triple Tap option
4. Choose Screenshot from the available actions list
Optimal tapping technique:
– Target the area around the Apple logo on the back
– Apply firm but not excessive pressure
– Maintain consistent rhythm for double or triple taps
– Works through most thin-to-medium phone cases
Pro usage insight: Double tap offers faster activation but may trigger accidentally in your pocket. Triple tap provides better accidental trigger prevention but requires more precise timing. Adjust based on your daily usage patterns and how you carry your phone.
Implement AssistiveTouch for Button-Free Screenshots
When physical buttons wear out or you need accessibility accommodations, AssistiveTouch creates an on-screen button that never appears in your screenshots.
Configuration walkthrough:
1. Go to Settings > Accessibility > Touch
2. Enable AssistiveTouch toggle
3. Tap Customize Top Level Menu
4. Replace any existing icon with Screenshot action
Using your virtual button:
– Tap the floating gray circle anywhere on screen
– Select the Screenshot icon from the menu
– The button automatically hides during capture
– Access your screenshot through the standard thumbnail preview
Key advantage: Unlike physical buttons, AssistiveTouch works even when your iPhone’s actual buttons are damaged or unresponsive. This method proves invaluable if you frequently drop your phone or notice button responsiveness issues developing.
Transform the Action Button into a Screenshot Shortcut

The dedicated Action Button above your volume controls can become a one-press screenshot solution with minimal configuration.
Customization process:
1. Open the Shortcuts app (pre-installed)
2. Tap the “+” icon to create a new shortcut
3. Add the Take Screenshot action
4. Optionally add Save to Photo Album action
5. Name your shortcut “Screenshot”
6. Navigate to Settings > Action Button > Shortcut
7. Select your newly created screenshot shortcut
Usage benefit: A single press of the Action Button captures your screen instantly without needing multiple buttons or menu navigation. This method shines when you frequently take screenshots and want the fastest possible access.
Capture Full Webpages with Safari Screenshots
Standard screenshots only show what’s visible on screen, but iPhone 16 lets you capture entire webpages as scrollable documents.
Complete capture process:
1. Take a regular screenshot using any method
2. Immediately tap the thumbnail preview
3. Select Full Page at the top of the editing screen
4. Choose Save to Files to store as PDF
5. Or tap Done to save as standard image
Where to access: Full-page captures save to your Files app under Downloads, organized by webpage title. These PDF versions maintain clickable links and preserve the entire page layout without manual scrolling.
Troubleshoot Common Screenshot Failures
When buttons don’t respond:
– Verify simultaneous button press (not sequential)
– Clean button crevices with soft brush to remove debris
– Check storage space in Settings > General > iPhone Storage
– Restart your iPhone to clear temporary software glitches
Missing thumbnail solutions:
– Confirm iOS 18 is installed (older versions show different previews)
– Reset all settings via Settings > General > Transfer or Reset iPhone
– Check if screenshot permissions are restricted in Screen Time settings
Storage full workaround:
– Create a “Temporary Screenshots” album and delete regularly
– Enable iCloud Photos for automatic off-device backup
– Use the Files app to store full-page captures instead of Photos
Optimize Your Screenshot Workflow
Customization options worth exploring:
– Toggle Thumbnail Preview in Settings for instant editing access
– Choose between SDR and HDR formats based on your sharing needs
– Set default save locations for different screenshot types
– Create specialized shortcuts for frequent screenshot scenarios
Smart method selection guide:
| Method | Setup Time | Best For | Reliability |
|---|---|---|---|
| Buttons | None | Daily use | ★★★★★ |
| Back Tap | 1 minute | One-handed | ★★★★☆ |
| Siri | 30 seconds | Hands-free | ★★★☆☆ |
| AssistiveTouch | 2 minutes | Accessibility | ★★★★☆ |
| Action Button | 3 minutes | Power users | ★★★★★ |
Pro recommendation: Master the button method first since it works universally. Then configure Back Tap for one-handed situations and Siri for hands-free moments. Keep AssistiveTouch as your backup solution when physical buttons fail. The Action Button customization delivers the fastest access once set up, making it ideal for frequent screenshot takers.
Your iPhone 16 screenshot mastery is now complete. Start using these techniques today to capture important information, share funny moments, or document instructions without missing a beat. The more you practice these methods, the more naturally they’ll fit into your daily iPhone usage—turning what might seem like a simple function into a powerful productivity tool.


